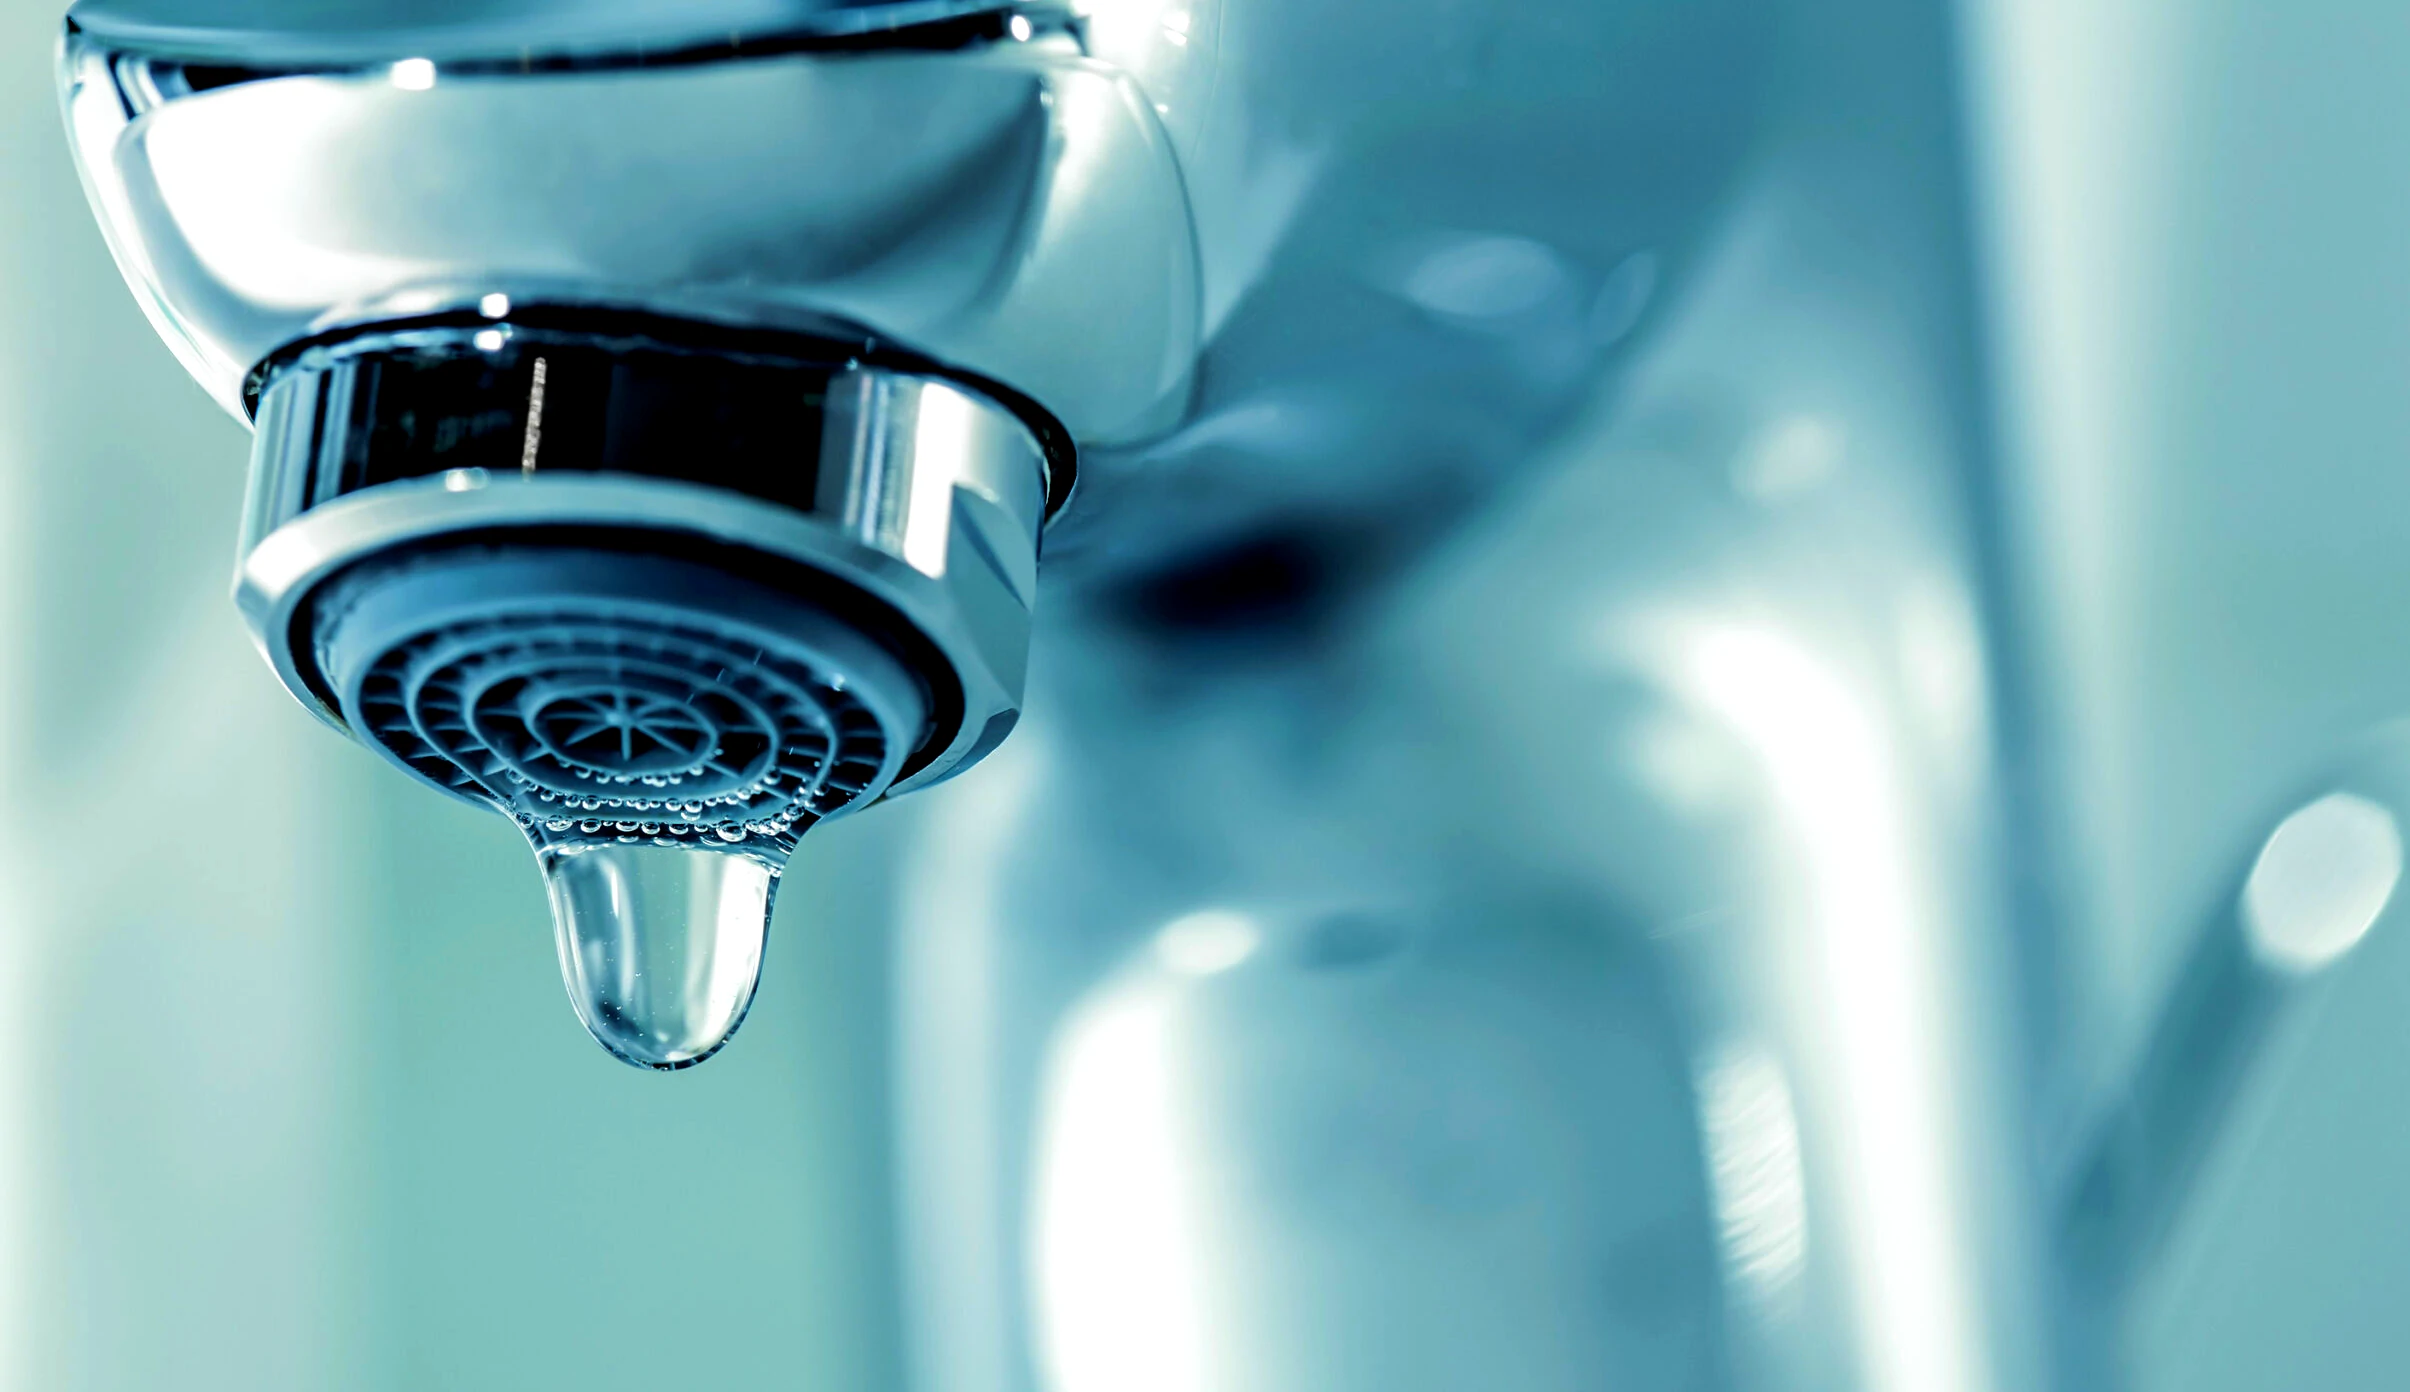
How to Fix a Dripping Bathtub Faucet ? Fixing a dripping bathtub faucet is a common plumbing issue that you can often resolve with a few simple steps. drip can result in a gallon or more of water waste every day, driving up your water bill, and leaking water can damaging the wall of the house and wood surfaces, In addition to the corrosion of your plumbing pipes.
Although a bigger leak may require the expertise of a plumber To fix it, you can fix minor leaks without professional help.

- If you need a temporary fix for a leaky bathtub faucet.
- You can follow these steps:
1. Turn Off the Water Supply:
- Locate the water shut-off valves for the bathtub. These are typically found under the sink or behind an access panel. Turn off the water supply to the bathtub by closing the valves.
2. Remove the Faucet Handle:
- Use a screwdriver to remove the screw or set screw securing the faucet handle. Once the screw is removed, gently pry off the handle. Some handles may have a decorative cap covering the screw, which can be popped off using a flathead screwdriver.
3. Remove the Cartridge or Valve Stem:
- After removing the handle, you’ll find either a cartridge or a valve stem. Cartridges are common in single-handle faucets, while valve stems are found in double-handle faucets. Use pliers to unscrew the cartridge or valve stem from the faucet body.
4. Inspect and Replace the O-Ring or Washer:
- Check the condition of the O-ring or washer on the cartridge or valve stem. If it’s worn, damaged, or shows signs of deterioration, replace it. You can find replacement O-rings or washers at most hardware stores.
5. Replace the Cartridge or Valve Stem (if needed):
- If the O-ring or washer replacement doesn’t solve the issue, you may need to replace the entire cartridge or valve stem. Take the old cartridge or valve stem to a hardware store to find a suitable replacement.
6. Apply Plumbers Tape (for Valve Stems):
- If you’ve replaced the valve stem, apply plumber’s tape to the threads before screwing it back into the faucet body. This helps create a watertight seal.
7. Reassemble the Faucet:
- Put the cartridge or valve stem back into the faucet body and secure it in place with pliers. Reattach the faucet handle and tighten the screw or set screw.
8. Turn On the Water Supply:
- Open the water shut-off valves to restore the water supply to the bathtub. Turn on the faucet and check for leaks.
9. Test for Leaks:
- Let the water run for a few minutes and check for any leaks around the faucet. If there are no leaks, you’ve successfully fixed the dripping faucet.
If you encounter difficulties during the process or if the dripping persists after following these steps, it’s advisable to consult with a professional plumber for further assistance.
Remember, these are temporary solutions. For a long-term fix or if the issue persists, it’s advisable to consult with a professional plumber who can assess the situation and provide a more permanent solution.


